Set Up Your First Hardware Wallet: Coldcard, BitBox02 or SeedSigner
Step-by-step first-time setup for the three hardware wallets Australians trust most — Coldcard, BitBox02, and SeedSigner — from unboxing to your first on-chain transaction.
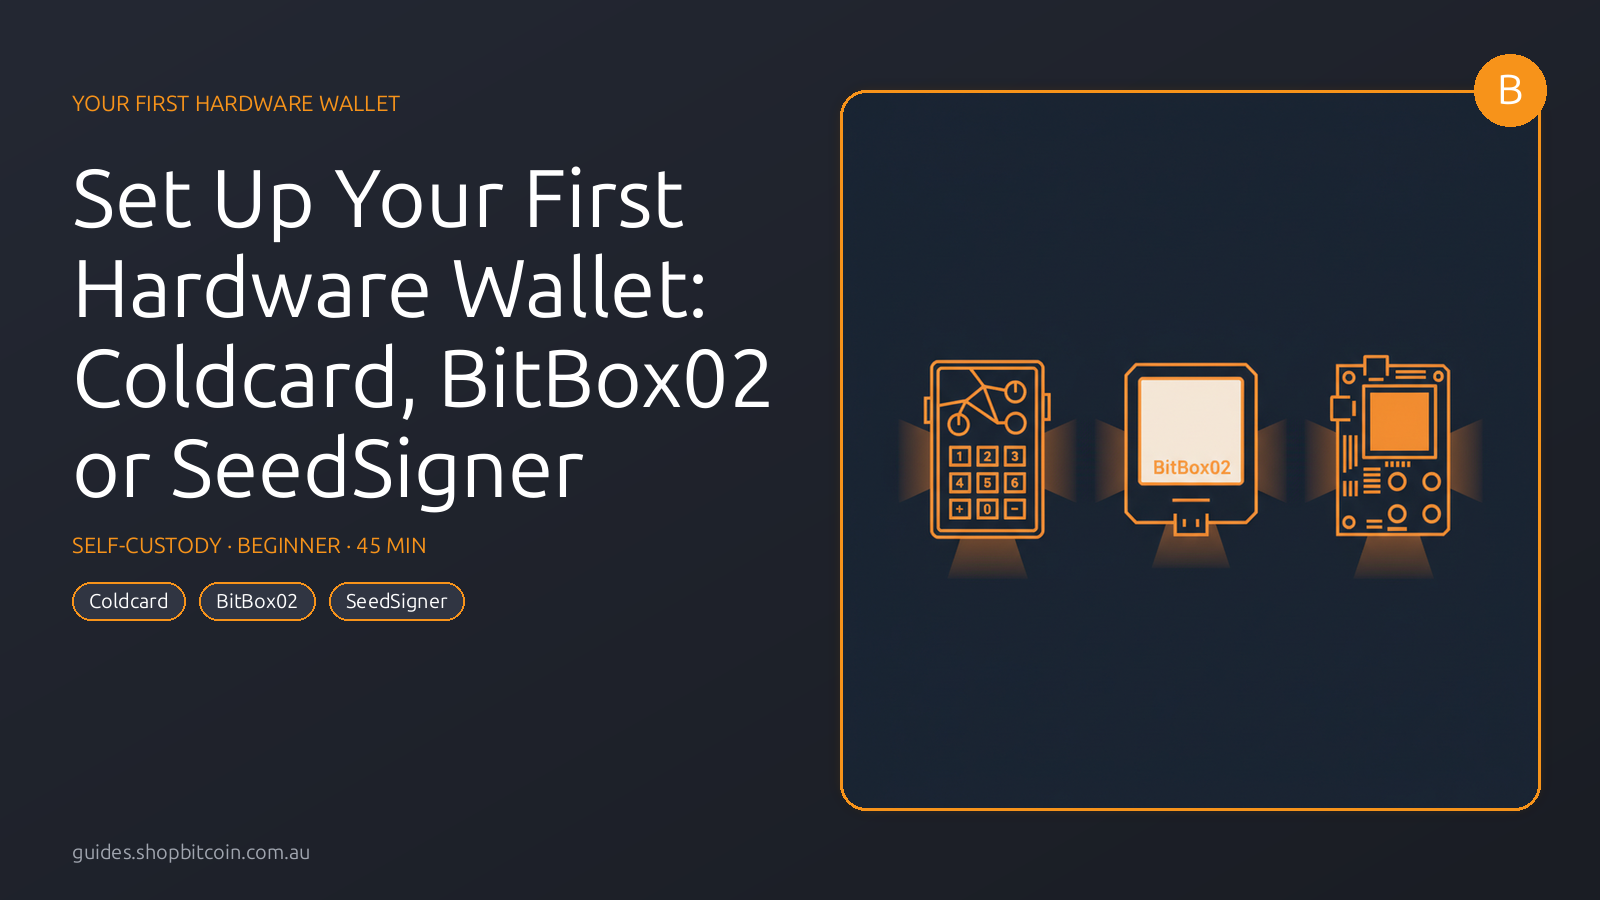
Taking your bitcoin off an exchange and into your own hands is the most important move you can make as an Australian bitcoiner. Hardware wallets make that step straightforward and secure. This guide covers first-time setup for the three devices sold by Shop Bitcoin Australia: the Coldcard Mk4 / Q, the BitBox02 Bitcoin-only, and the SeedSigner (DIY air-gapped device).
You don’t need to own all three. Read the step introductions to decide which suits you, then follow the device-specific substeps for your choice.
By the end you’ll have a verified, backed-up hardware wallet with a small amount of bitcoin received and sent — proving the whole thing works before you commit larger amounts.
What you’ll need
- Hardware wallet of your choice
- A computer running Sparrow Wallet (free, open-source)
- The paper backup card that ships with the device
- A metal seed plate — essential for a fire- and water-resistant backup
- Pen
- Coldcard only: the included microSD card
- BitBox02 only: the included USB-C cable
Step 1 — Verify the packaging (tamper check)
Before plugging anything in, inspect the packaging carefully. Supply chain attacks are rare but real.
Coldcard Mk4 / Q
The device ships inside a numbered tamper-evident bag printed with a large Coinkite logo, white text, and a barcode. Coinkite records the bag number in the secure flash memory of your specific device during manufacture. If the bag shows any sign of previous opening — torn seams, residue on the adhesive strip — do not use the device; contact Shop Bitcoin Australia for a replacement. Note the bag number before tearing it open.
BitBox02
The BitBox02 ships in a sealed box with a holographic sticker on the inner carton. Check the sticker is intact and the box shows no signs of being opened and resealed. Shiftcrypto also publishes attestation certificates so you can verify firmware authenticity later via the BitBoxApp.
SeedSigner
SeedSigner ships as a kit of open-source hardware components (Raspberry Pi Zero, waveshare LCD, camera module). Because the design is fully open, there is no factory seal to verify — security comes from the fact that the software never touches the internet and your seed never leaves the device. Inspect the components for physical damage.
Tip: Take a photo of the sealed packaging before you open it. Useful documentation if you ever need to make a warranty claim.
Step 2 — Power on for the first time
Coldcard Mk4
Plug into any USB-C power source (wall adapter, computer, power bank — it does not matter, as Coldcard intentionally blocks USB data communication by default). The device boots automatically.
Coldcard Q
The Q has a built-in battery. Press and hold the power button (top-left) for one full second until you see the screen light up.
BitBox02
Connect to your computer via USB-C. Open the BitBoxApp — the app will detect the device and guide you through the rest of the setup. You can also connect it directly to Sparrow Wallet once the initial firmware is confirmed.
SeedSigner
Insert the microSD card with the SeedSigner image into the Pi Zero, then connect power via the USB port labelled “PWR” (not “USB”). The device boots in about 45 seconds. Latest release: v0.8.6.
Step 3 — Verify and update firmware
Running the latest firmware protects you from known bugs and security fixes. Current versions as of April 2026:
| Device | Current firmware |
|---|---|
| Coldcard Mk4 | 5.4.5 (released 2025-11-03) |
| Coldcard Q | 1.3.5Q (released 2025-11-03) |
| BitBox02 Bitcoin-only | v9.25.0 (released 2025-01) |
| SeedSigner | v0.8.6 |
Coldcard
On first boot, Coldcard shows the version it shipped with. To update: download the latest firmware .dfu file from coldcard.com/docs/upgrade on your computer, copy it to the microSD card, insert the card into the Coldcard, and navigate to Advanced → Upgrade Firmware. The device verifies the cryptographic signature automatically before installing.
BitBox02
The BitBoxApp checks for updates when you connect. Accept the prompt and follow on-screen instructions. The BitBox02 uses deterministic firmware builds — you can independently verify the binary matches the published source code if you’re so inclined.
SeedSigner
SeedSigner is stateless — it doesn’t persist firmware updates to flash. To update, download the latest .img from github.com/SeedSigner/seedsigner/releases, verify the SHA-256 hash, and flash it to your microSD card using Balena Etcher.
Warning: Never install firmware from any source other than the official project URLs above. Fake firmware files have been used to steal funds.
Step 4 — Set your PIN
Your PIN is the first line of defence if someone physically gets hold of your device.
Coldcard
Coldcard uses a two-part PIN (e.g. 1234-5678). The first half (prefix) unlocks a pair of anti-phishing words unique to your device — words the Coldcard chose when it was manufactured. Each time you enter your prefix, verify those words match before proceeding. This tells you the device is genuine and not a look-alike swap. Use at least four digits in each half — two-digit PINs are too guessable.
BitBox02
The BitBoxApp prompts you to set a device password during initial setup. Use something memorable but not trivial — this is separate from your seed backup.
SeedSigner
SeedSigner has no persistent PIN (it’s stateless by design). Physical security of the device itself is the protection here — if someone steals it, they get a blank device with no stored seed.
Warning: Do not use your birthday, street number, or any number that appears in your life. Do not write the PIN on the same card as your seed words.
Step 5 — Generate your seed (with dice if possible)
Your seed phrase is the master key to all funds this wallet will ever hold. Generated properly, it is computationally impossible to guess.
Coldcard (recommended: dice rolls)
Select New Wallet → Dice Rolls. Roll a standard six-sided die and enter each result. Coldcard mixes your dice entropy with its own hardware random number generator. Roll at least 50 times for 128 bits of entropy (the minimum), or 99+ rolls for 256-bit / 24-word seeds. The device then displays your 24 seed words one at a time. Write each word on the provided backup card as it appears. Coldcard will quiz you on random words afterwards — this is mandatory, not optional.
BitBox02
During setup the BitBoxApp generates a 24-word seed using the device’s hardware random number generator. The words are displayed on the device screen (not the computer). Write them on the provided card. The app then asks you to confirm several words to verify you copied them correctly.
SeedSigner (dice or image entropy)
From the main menu select Seeds → Generate a Seed. Choose either:
- Dice rolls — enter 50+ rolls; SeedSigner converts them to entropy using standard BIP-39 math
- Image entropy — point the camera at something random and press the button; the device hashes the image
After generation, your seed words appear on screen. Write them on your backup card.
Tip: Do this in a private space with no cameras visible — including webcams, phone cameras, and security cameras.
Step 6 — Back up to metal immediately
Paper burns. Floods happen. Do the metal backup the same day you set up the device — not “later this week”.
- Retrieve your metal seed plate from the box.
- Using the supplied stamp set or engraver, mark each of the 24 words (or the first four letters of each — enough to look up the full word in the BIP-39 wordlist).
- Double-check every word against the backup card.
- Store the metal plate somewhere physically separate from the device and from where you live if possible — a fireproof safe at a family member’s house is a classic Aussie setup.
Warning: Anyone who finds this metal plate can access your entire wallet. Treat it like a bearer instrument — whoever holds it, owns it.
Step 7 — Decide on a passphrase (25th word)
A BIP-39 passphrase is an optional extra layer. When you apply one, the device derives a completely different wallet from the same 24 words. Your “no passphrase” wallet remains valid but empty (or holds a decoy amount). The passphrase wallet holds your real funds.
Use a passphrase if:
- You’re storing a significant amount
- You’re concerned someone might find your metal plate backup
- You have a reliable way to store the passphrase separately (another metal plate in a different location)
Skip the passphrase if:
- You’re still learning and don’t want extra complexity
- You don’t yet have a safe plan for storing it
If you do set one, store it on a second metal plate kept in a completely different location from the seed. Losing the passphrase permanently destroys access — there is no recovery.
All three devices support BIP-39 passphrases. On Coldcard it’s under Passphrase in the main menu. On BitBox02 it’s in the BitBoxApp settings. On SeedSigner, select the seed and choose Apply Passphrase.
Step 8 — Connect to Sparrow Wallet
Sparrow Wallet is the recommended desktop wallet for Australians — it’s open-source, privacy-respecting, and works seamlessly with all three devices, including full air-gapped workflows.
Coldcard (air-gapped via microSD)
- On Coldcard, navigate to Advanced → MicroSD Card → Export Wallet → Generic JSON.
- Copy the
.jsonfile from the microSD card to your computer. - In Sparrow: File → New Wallet → give it a name → Airgapped Hardware Wallet → Import File → select the JSON.
- Sparrow builds a watch-only wallet — it can see balances and build transactions, but cannot sign.
BitBox02 (USB)
- Connect BitBox02 via USB-C.
- In Sparrow: File → New Wallet → Connected Hardware Wallet → click Scan → select BitBox02.
- Approve the connection on the device.
SeedSigner (air-gapped via QR codes)
- In Sparrow: File → New Wallet → Airgapped Hardware Wallet → Scan QR.
- On SeedSigner, load your seed → Export Xpub → choose the script type (Native SegWit / P2WPKH for standard single-sig) → display the animated QR.
- Hold the QR up to your computer camera; Sparrow reads it and creates the watch-only wallet.
Step 9 — Receive a test amount and verify on-device
Before sending any real funds, run a small test.
- In Sparrow, go to the Receive tab. An address appears.
- Critical: click Show Address (or the equivalent) to display the same address on your hardware wallet screen.
- Compare the two character-for-character. If they match, the wallet is properly set up.
- Send a small test amount — something like $5–10 AUD worth of bitcoin — to this address from your exchange account.
- Wait for at least one confirmation (roughly 10 minutes on average).
Warning: Never skip the on-device address check. Malware can display a different address on your computer screen. The device screen is the only trustworthy source.
Step 10 — Sign and send a test transaction (air-gapped workflow)
Now spend a tiny amount back — ideally to another address you control — to prove the signing flow works.
Coldcard (PSBT via microSD)
- In Sparrow, build a transaction in the Send tab and click Create Transaction → Finalise Transaction → Save Transaction → save the
.psbtfile to your microSD card. - Insert the card into Coldcard. It detects the PSBT and displays the transaction details. Verify the destination address and amount on the Coldcard screen.
- Press OK to sign. Coldcard writes a signed
.psbtback to the card. - Insert the card into your computer. In Sparrow: File → Open Transaction → select the signed file → Broadcast Transaction.
BitBox02 (USB)
- In Sparrow, build and finalise the transaction, then click Sign → the BitBox02 prompts for approval on the device screen. Verify the address and amount, then confirm.
- Sparrow broadcasts automatically.
SeedSigner (PSBT via QR)
- In Sparrow, build the transaction and click Show QR to display a QR code of the PSBT.
- On SeedSigner, Scan → scan the QR. SeedSigner shows the transaction details on screen. Verify, then sign.
- SeedSigner displays an animated QR of the signed PSBT. In Sparrow, click Scan QR to read it back, then Broadcast.
Step 11 — Troubleshooting
Coldcard won’t recognise the microSD card
Use a card 32GB or smaller formatted as FAT32. Coldcard is finicky with large or exFAT-formatted cards. The included card is pre-formatted correctly.
Sparrow can’t find my BitBox02 over USB
On Linux, you may need to add a udev rule. Download the rule file from bitbox.swiss/start and follow the instructions. On Windows, install the Zadig USB driver.
SeedSigner boots to a black screen
The image is probably corrupted or written to the wrong partition. Re-flash the microSD using Balena Etcher. Verify the SHA-256 hash of the .img file before flashing.
I made an error entering dice rolls
Start over. Coldcard lets you restart the dice entry. Entropy is only secure if your input was genuinely random — if you suspect you made a systematic error, generate a fresh seed.
Passphrase accepted but wallet shows zero balance
You’ve entered the passphrase slightly differently from when you set it up (a capital letter, a space, a typo). Passphrases are case-sensitive and space-sensitive. Try every variation you can think of — capitalisation, trailing spaces — before concluding the passphrase is wrong.
What’s next
- Self-Custody Basics — understand the philosophy behind holding your own keys before you go deeper.
- Multisig with Sparrow — once you’re comfortable with single-signature wallets, multi-signature setups using two or three hardware wallets dramatically raise your security ceiling.
- Browse signing devices — Shop Bitcoin Australia stocks Coldcard Mk4, Coldcard Q, BitBox02 Bitcoin-only, and SeedSigner kits, plus metal seed plates.
Frequently Asked Questions
Do I need to buy all three wallets?
No — pick one. Coldcard suits those who want maximum security and don't mind a steeper learning curve. BitBox02 is the friendliest for beginners. SeedSigner is the most private and air-gapped option, but requires self-assembly of a Raspberry Pi Zero kit.
What is a seed phrase and how do I keep it safe?
Your seed phrase is 12 or 24 random words that can fully restore your wallet. Write it on the provided card immediately, then transfer it to a metal seed plate as soon as possible. Never photograph it, type it into any website, or store it digitally.
What is the 25th word (passphrase) and should I use one?
A BIP-39 passphrase is an optional extra word (or phrase) you choose yourself, added to your seed to create an entirely separate wallet. It protects you if your seed words are discovered. The downside: if you forget the passphrase your funds are permanently inaccessible. Only use one if you have a solid plan for storing it separately from the seed.
Why do I need to verify the receive address on the device screen?
Malware on your computer can silently replace a Bitcoin address displayed in Sparrow with the attacker's address. Your hardware wallet screen cannot be tampered with, so the address it shows is the ground truth. Always confirm they match before sharing an address.
Can I use these wallets without ever connecting them to a computer?
Coldcard and SeedSigner are designed for fully air-gapped use via microSD card (Coldcard) or animated QR codes (SeedSigner). The BitBox02 requires a USB connection to the BitBoxApp for initial setup, but Sparrow can then communicate with it over USB without the BitBoxApp.
What if I lose my hardware wallet?
Your bitcoin is not stored in the device — it lives on the blockchain. As long as you have your seed phrase (and passphrase, if you set one), you can restore your wallet on any compatible device. This is why protecting the seed backup is everything.